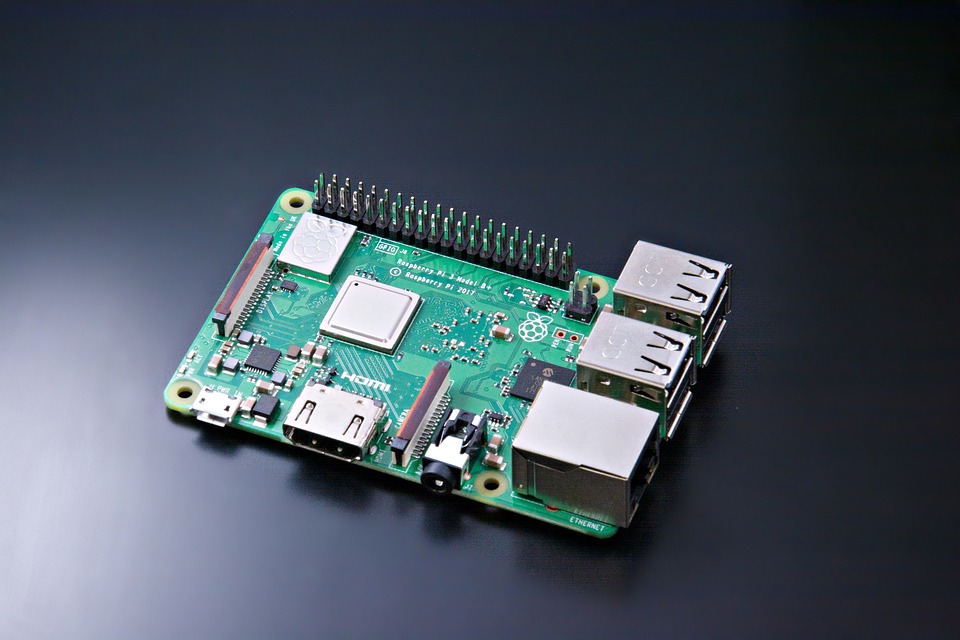
Raspberry Pi
Raspberry Pi is a single board computer manufactured in the UK by the Raspberry Pi Foundation. It was originally designed for education purposes but it has since been adopted by designers, engineers and electronics enthusiasts in developing project requiring more than a basic microcontroller. This article focuses on helping you connect your Raspberry Pi to your PC using an Ethernet cable.
Required tools
You will require the following:
- Raspberry Pi 3 Model B
- Ethernet cable
- PuTTy
- Advanced IP scanner
- SD card (At least 8 GB)
- Step 1
Install Rasbian on an SD card of not less than 8 GB and then create a blank file called SSH with no extension.
Step 2
Plug the SD card into the Rasberry Pi. Connect a 5V power supply to the Rasberry Pi.
Step 3
Connect the Ethernet cable to the Raspberry Pi and PC.
Step 4
Open Command prompt on your PC.
Step 5
In the command line, type in the following command: ipconfig
This will prompt your PC to show the windows IP configuration.
Step 6
Scroll down until you find Ethernet adapter Ethernet. Find the IPv4 Address in that section and note it down.
Step 7
Install Advanced IP scanner and then run it. In it, enter the IPv4 address that you noted in step 6 and then add a hyphen (-) then enter the same IP address while replacing the 1 at the end of the IP with 254.
For example, if your IPv4 is 192.168.106.1 then enter 196.168.137.1-196.168.137.254
Step 8
Click Scan located on the top-left. It will show the IP address of your PC and Raspberry Pi. Note down Raspberry Pi’s IP.
Step 9
Go to PuTTy configuration and enter the IP address of your Raspberry Pi and then connect to the PC by the PuTTy.
Step10
Assign a static IP to the it. To achieve this, go the command prompt and type in the following command: route –ne
This will prompt your PC to show the Kernel IP routing table.
Step 11
Find the gateway of eth0 and then note it down
Step 12
Go back to command prompt and type in the following command: sudo nano/ etc/ dhcpcd.conf
This command will enable you to edit a file called dhcpdd.conf
Step 13
Scroll down the file and paste the following code:-
interface eth0
static ip_address=192.168.137.5
static routers=192.168.137.1
static domain_name_servers=192.168.137.1
The static ip address is the IP you want to assign to your Raspberry Pi
Static routers is the gateway of the Ethernet connection
Static domain_name_ servers is the gateway of the Ethernet connection
Step 14
Save the file by pressing ctrl+ x and y and then hit enter. Reboot your Raspberry Pi by typing in the following command: sudo reboot
Step 15
Go to the PuTTy config and enter the IP you assigned to your Rasberry Pi so as to access it via Ethernet and you are good to go.


