Introduction
3D printing has come a long way since its inception, and today, enthusiasts and professionals can create intricate and colourful objects with ease. While multi-material 3D printers with dual extruders are the go-to choice for users seeking to print in multiple colours or materials, single extruder printers can also achieve impressive results through a technique known as dual-colour printing. This article describes the world of dual-colour printing on single extruder 3D printers and provides you with some valuable tips to get started.
Understanding Dual-Colour Printing and Single Extruder 3D Printer
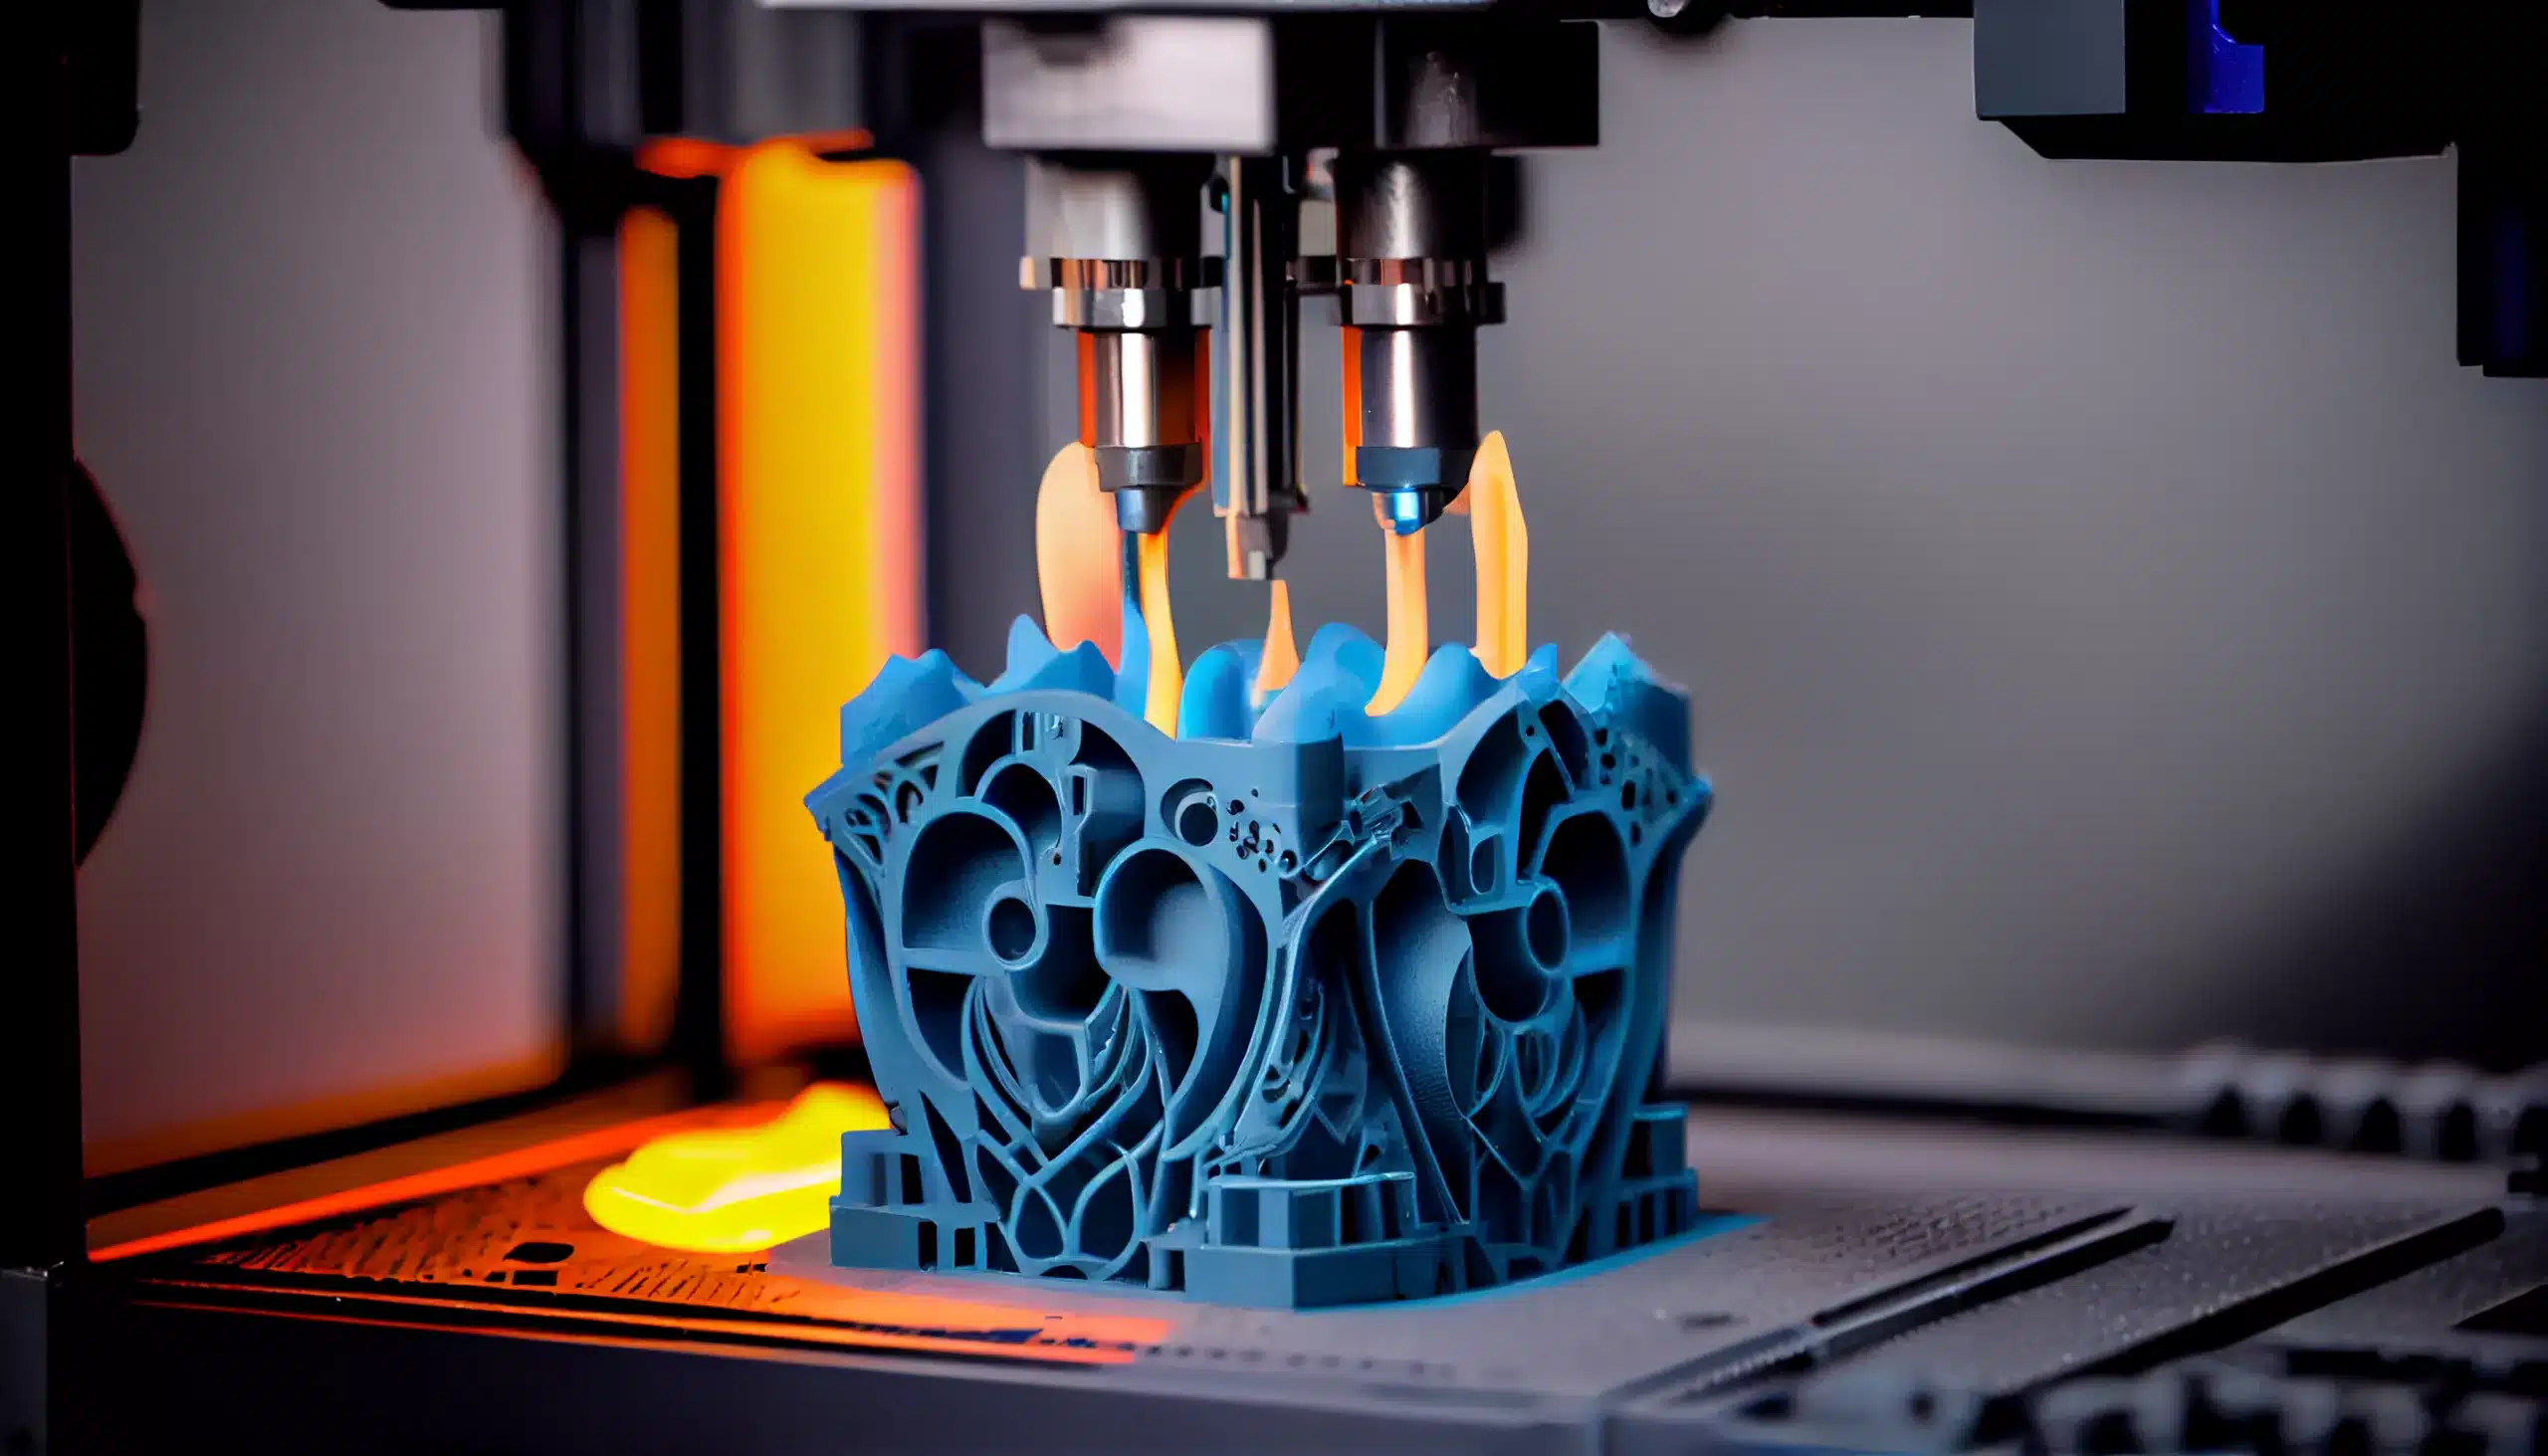
Dual-colour printing refers to the process of creating 3D prints with two or more distinct colours using a single extruder 3D printer. Single extruder 3D printers are a type of 3D printer that uses a single nozzle to deposit material and create three-dimensional objects. The extruder is the part of the 3D printer responsible for melting and depositing the material–typically plastic filament and other materials like metal or ceramic. A single extruder 3D printer can only print with one type of material and colour at a time. While it may seem counterintuitive to achieve multicolour prints with just one extruder, it’s entirely possible through careful design and some clever tricks–allowing users to switch the printer during the printing process manually.
Tips for Successful Dual-Colour Printing on Single Extruder 3D Printers
Successfully achieving dual-colour 3D prints on a single extruder 3D printer can be challenging, but it’s definitely possible with the proper techniques and settings. Here are some tips to help you get started:
Understanding Your Printer’s Capabilities
Before attempting dual-colour printing, it’s crucial to understand your printer’s capabilities. Most single extruder printers are not designed to print with two colours simultaneously, so ensure your printer’s firmware supports colour change commands and that you are comfortable with its operation.
Choose the Right Filaments
After understanding your printer capabilities, the foremost step in achieving dual-colour prints is selecting the appropriate filaments. You’ll need two different and compatible filament colours with your printer’s extrusion temperature. Opt for high-quality and easy-to-work PLA or PETG filaments, offering a wide range of colour options. Ensure the filaments adhere well to each other when melted and are of the same or similar material type. This compatibility will help prevent issues like warping or poor layer adhesion.
Slice Your Model Thoughtfully
To achieve dual-colour prints, prepare your 3D model accordingly. Using slicing software (such as Cura, PrusaSlicer, or Simplify3D), designate which parts of the model should be printed in each colour. This typically involves creating two separate STL files for each colour and then merging them together in the slicing software. Pay careful attention to the layer height at which the colour change should occur.
Pause and Swap
Since single extruder printers can only handle one filament at a time, you’ll need to pause the print at specific layers to change the filament. Most slicing software programs offer to insert pause commands at precise layer heights. When the printer reaches the designated layer, it will pause, allowing you to swap out the filament spool with the new colour. Be sure to cut the filament cleanly before inserting the new colour to avoid any jams or inconsistencies.
Calibration is Key
Calibrating your 3D printer is crucial for successful dual-colour printing. Ensure your printer’s nozzle is at the correct height above the print bed and that both filaments extrude consistently. You may need to fine-tune settings such as temperature, retraction, and extrusion rate to achieve optimal results. Clean the nozzle and check for any clogs regularly to avoid colour bleeding or print defects.
Post-Processing and Cleanup
Once your dual-colour print is complete, there may be some minor imperfections where the two colours meet. You can use a hobby knife or fine-grit sandpaper to carefully smooth these areas and make the transition between colours as seamless as possible. Additionally, using a colour-matching filament for the layer where the colour changes occur can help hide imperfections.
Experiment and Iterate
Dual-colour printing can be challenging, especially when trying for the first time. Don’t be discouraged by initial failures; instead, view them as opportunities to learn and improve. Experiment with different settings, layer heights, and colour combinations to find what works best for your specific printer and project.
Bottom Lines
Dual-colour printing on single extruder 3D printers is a fascinating technique–allowing the creation of visually stunning and intricate 3D prints. By choosing suitable filaments, carefully slicing your model, mastering the pause-and-swap technique, and calibrating your printer effectively, it is possible to achieve impressive results and unlock the full potential of dual-colour printing using a single extruder 3D printer. With dedication and creativity, it is possible to bring your colourful 3D printing visions to life.


