Introduction
High-Definition Multimedia Interface (HDMI) has become the standard for transmitting high-quality audio-video signals between devices. However, to leverage the full viewing experience and enjoy these devices’ high-quality performance, their accurate and professional setup is paramount. This simple guide provides a quick and easy approach to getting your HDMI splitters up and running.
Understanding HDMI Splitters: What They Are and How They Work?
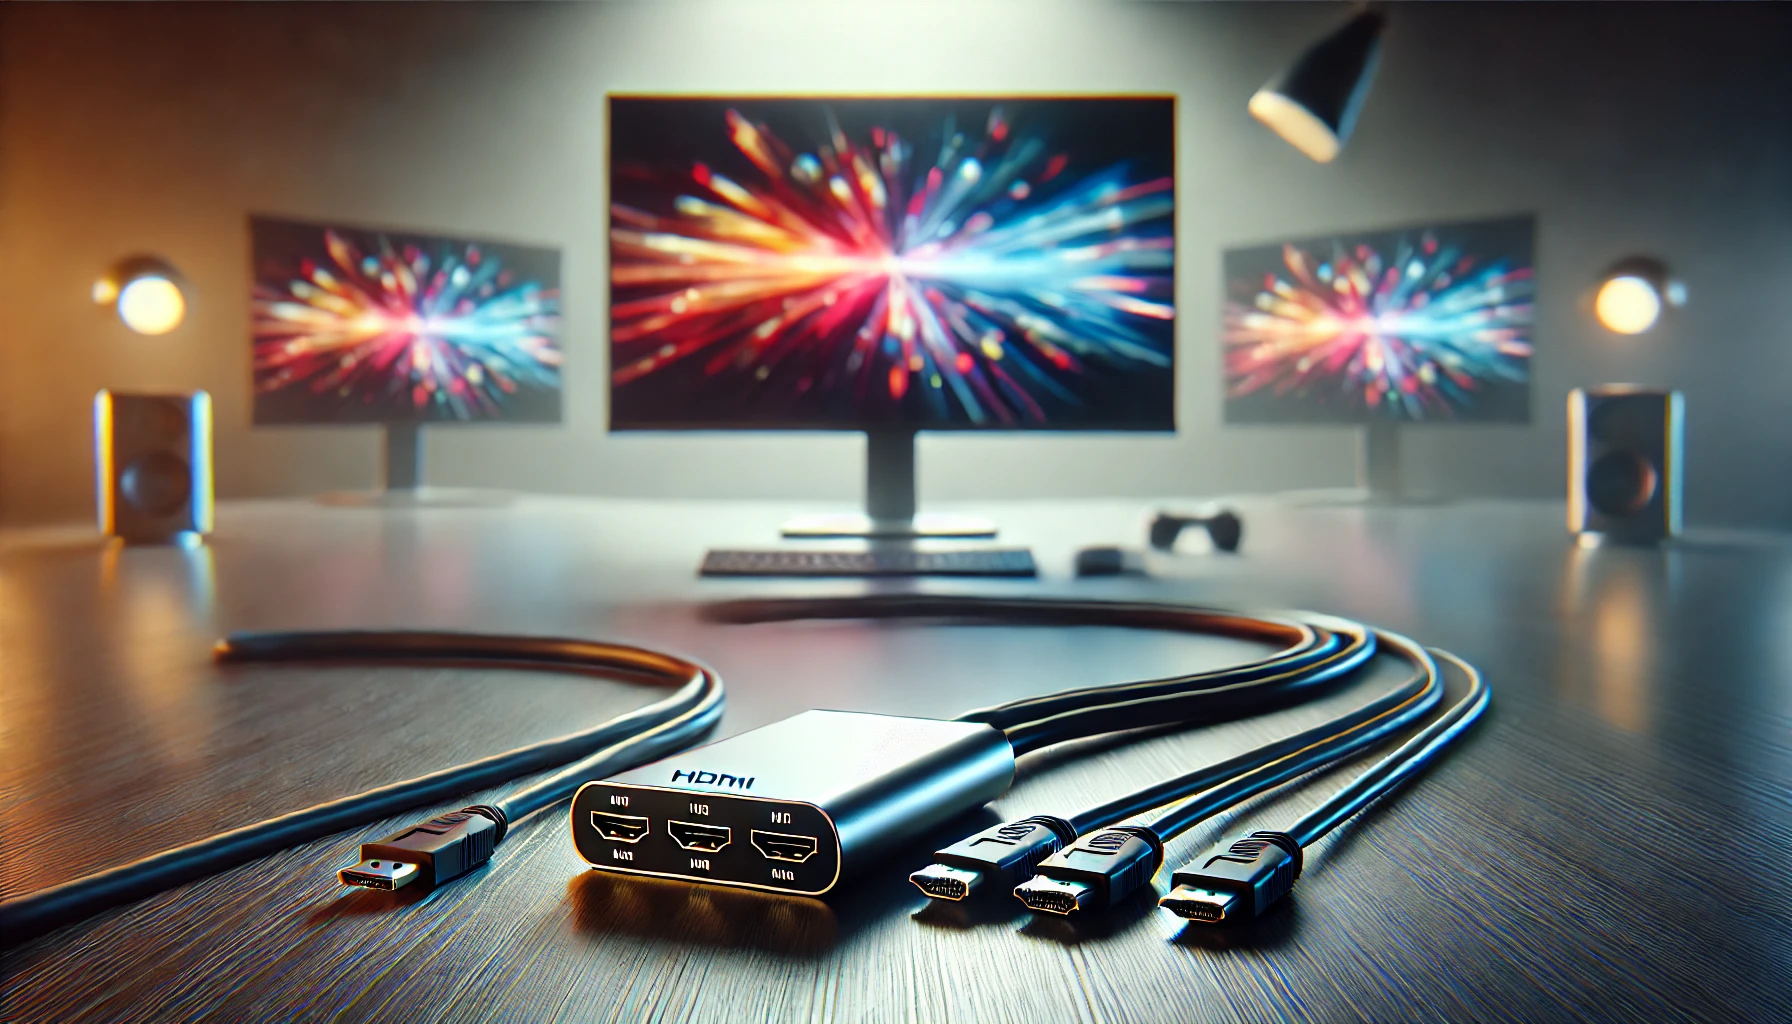
HDMI splitters, as the name indicates, are high-performance devices that take a single HDMI input and split/duplicate it across multiple outputs simultaneously. An HDMI splitter is instrumental in situations where you want the same content to be displayed on multiple screens, TVs, and projectors for presentations and meetings. These devices receive the HDMI signal from the source device and duplicate it internally, creating multiple identical copies. These duplicated signals are then displayed on the connected displays via their HDMI ports. Advanced models of HDMI splitters come with exceptional features, such as automatic switching, EDID engagement, or remote control with a different number of outputs.
The Significance of Correct Installation/Setup of an HDMI Splitter
Incorrect installation can lead to signal degradation, display errors, or even device damage. A correctly installed splitter ensures optimal performance and prevents potential issues. Proper setup ensures seamless signal transmission, maintaining the original audio and video quality. Adhering to the manufacturer’s instructions and using high-quality HDMI cables can maximise the benefits of HDMI splitters and allow you to enjoy a hassle-free audiovisual experience.
Different Types and Uses of HDMI Splitters: A Brief Look
HDMI splitters come in several types, primarily distinguished by the number of outputs, power needs, and supporting advanced features like 4K resolution, 3D video, or audio return channels. HDMI splitters are commonly used in various scenarios, such as home theater setups, conference rooms, or retail displays where the same content needs to be broadcast across multiple screens. Some common types include:
- Passive HDMI Splitters – Also called powered HDMI splitters, these devices split the HDMI signal without requiring an external power source. They are typically suitable for shorter distances and fewer displays.
- Active HDMI Splitters – These splitters are powered by an external power source and can amplify the HDMI signal. They are ideal for longer distances and multiple displays.
- 1-in-2-Out (1×2) HDMI Splitter – These splitters divide the input signal into two identical output signals. They are commonly used for home theater setups or small conference rooms.
- 1-in-4-Out (1×4) HDMI Splitter – These splitters divide the input signal into four identical output signals. They are ideal for larger setups, such as digital signage networks or multiple display environments.
- 1-in-8-Out HDMI Splitter – They are designed to divide one input into eight outputs.
Preparing for HDMI Splitter Setup: What Do You Need?
Setting up an HDMI splitter is generally straightforward, but it’s essential to have the right tools and equipment before you start. This section lists all the necessary items for a successful setup.
- The HDMI Splitter – Ensure you have an HDMI splitter that meets your requirements in terms of output count and supported resolutions.
- HDMI Cables – You’ll need one HDMI cable for each output device. The length and quality of the cables should match your setup needs.
- Power Supply (If Needed) – Some HDMI splitters require an external power source. If your splitter requires one, make sure you have a compatible power adapter.
- Compatible Devices – Ensure all your devices (TVs, monitors, projectors) are compatible with the HDMI splitter and the resolution you plan to use.
Step-by-Step Guide to Setting Up Your HDMI Splitter
The following 5-step process will make your HDMI splitter setup as simple and straightforward as possible and include:
Unboxing and Inspecting Your HDMI Splitter
Before setting up, unbox your HDMI splitter and inspect it for any visible damage. Check that all necessary components, including the splitter, power adapter (if required), and any included cables, are present.
Connecting the HDMI Splitter to Your Source Device
Start by connecting your source device (e.g., a Blu-ray player or streaming device) to the HDMI input port on the splitter using an HDMI cable.
Connecting the HDMI Splitter to Your Output Devices
Next, connect each of your output devices (e.g., TVs, monitors) to the splitter’s HDMI output ports using separate HDMI cables.
Powering the HDMI Splitter (If Required)
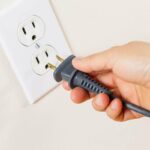
If your HDMI splitter requires external power, plug it into a power outlet and ensure that the power indicator light turns on.
Testing the Setup
Once everything is connected, power on all devices. The source device should now display the same content across all connected output devices. Check cable connections or reset the devices to troubleshoot any issues, such as no signal or poor video quality.
Takeaway
Setting up an HDMI splitter is not a complex and complicated process. By considering and implementing the various steps outlined in this article, you can efficiently distribute high-quality audio and video signals to multiple displays. Whether you’re setting up a home theater, a conference room, or a digital signage system, the suitable HDMI splitter can enhance your experience.


